
Canonical has selected the Japanese word “Yaru” as a replacement moniker for the “Communitheme”. Today, we are going to install Communitheme on your Ubuntu system. In the last article, you say, ‘Top 10 Best Free Ubuntu Themes User Needs To Know‘.

Follow the Below Steps to install Communitheme on Ubuntu 18.04:
To install Communitheme on the Ubuntu system, open the terminal and run the following command. After running the following command, the output will be shown ‘communitheme 0.1 from Didier Roche (didrocks) installed’, which means Communitheme has been successfully installed on your Ubuntu system.
itsmarttricks@mangesh:~$ sudo snap install communitheme
communitheme 0.1 from Didier Roche (didrocks) installed
Also Read – Top 10 Best Free Ubuntu Themes User Needs To Know.
Now ‘Communitheme’ can be applied to your system, Log out or reboot the system. Select ‘Ubuntu with communitheme snap’ when the system reboots And log in.

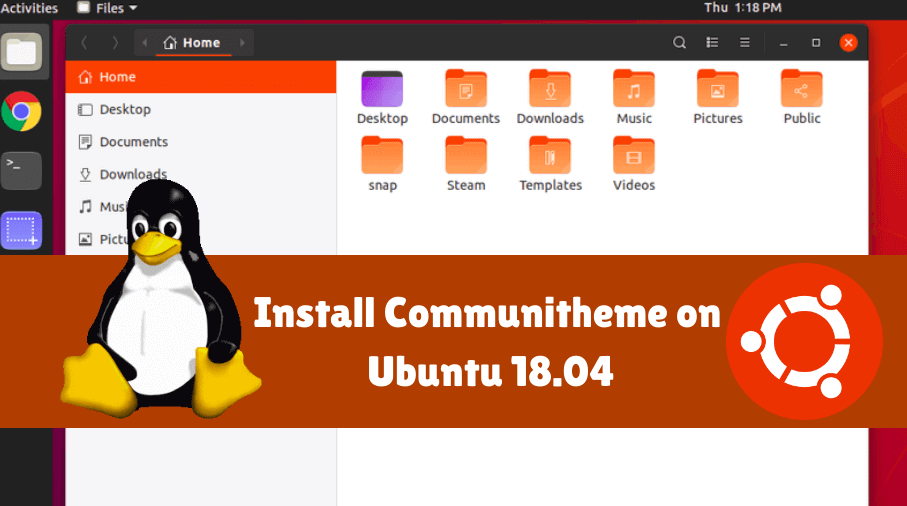
Now you can see the following snap: Look at ‘Communitheme’.

Also Read – Ubuntu Tutorials – For Beginners.
How To Uninstall Communitheme on Ubuntu 18.04?
For any reason, if you don’t like communitheme and want to uninstall the program from your system using the following commands.
itsmarttricks@mangesh:~$ sudo snap remove communitheme
communitheme removed
That’s all, In this article, we have explained How to install Communitheme on Ubuntu 18.04. I hope you enjoy this article. If you like this article, then just share it. If you have any questions about this article, please comment.