
The hosting server response time of your current website will below or you are unhappy with the hosting of the current website. Would you like to transfer the site from one cPanel to another? There are various options for moving your website to another cPanel. I was in trouble because of such a hosting, and now I will transfer my website to HostGator. So let’s learn ‘Step by Step Complete Website Migration From One cPanel Server To Another’.

Follow the below Steps For Website Migration From One cPanel Server To Another:
Data backing in Website Migration is very important because even if hosting is expired, it will be necessary to have an old data backup. Now we’re going to take an old data backup.
Old cPanel Directory Backup:
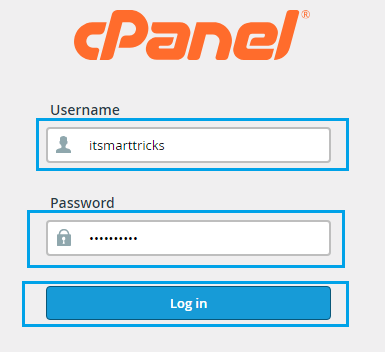
We will now see how Step by Step Complet Website Migration In cPanel. First of all, log in to old cPanel.
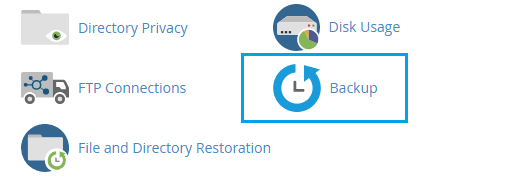
Before cPanel backup, delete the trash folder and ‘unwanted file’ in cPanel, Which means the size of the backup file will be reduced. If the size of the backup file is reduced, then the backup file will be easy to download and upload. To back up, go to the Files option of cPanel and click on Backup and open it.
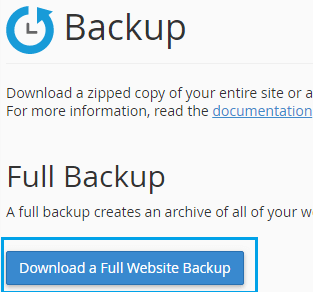
Now you are going to back up the entire website so click on ‘Download a Full Website Backup‘.
Now there are many options for backing up the backup destination, out of which, you select ‘Home Directory‘ and enter the e-mail address in the Email Address section so that the notification e-mail will arrive when the backup is complete. After selecting all, click Generate Backup.
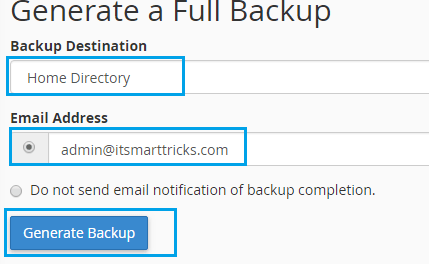
When a backup is generated, there will be a message with ‘Full Backup in Progress‘ and you can download a backup file when a mail arrives after the backup is complete.

In the ‘Backups Available for Download‘ option to download the backup file it will be a file. For example: ‘backup-7.22.2018_21-56-21_itsmartt.tar.gz (Sun Jul 22 21:56:21 2018) Download a file that will be her’. You can see the backup file in the following snapshot

Old cPanel phpMyAdmin Export:
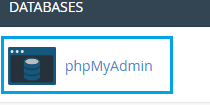
Now open phpMyAdmin in the database to take a phpMyAdmin backup.
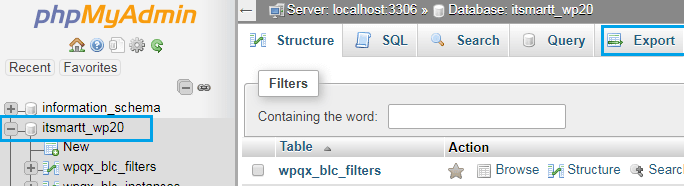
Now select the database and Export the data.
New cPanel Directory Restore:
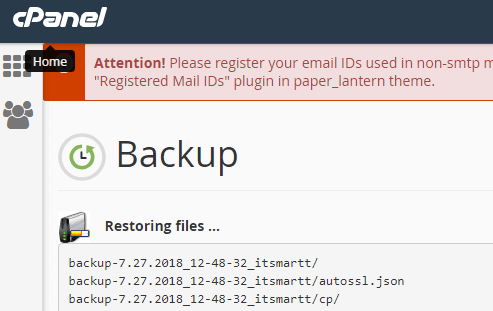
Now login to the new cPanel server and restore the directory’s data in it. Go to the backup wizard and click the backup file and select Upload to the directory Backup File.

When uploading the Directory backup file, the following snapshot will appear as massage, while the backup will restore complete the process.
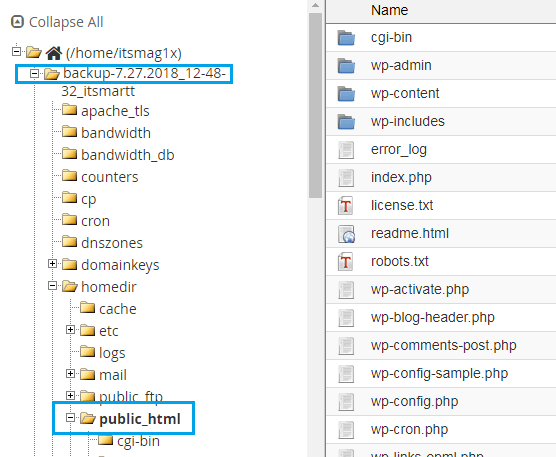
Now, first of all, install WordPress, then The restored backup is in ‘file manager’ Paste all the files in the ‘Public_html’ folder of the backup in the ‘Public_html’ folder of the new server.
Old cPanel phpMyAdmin Import:
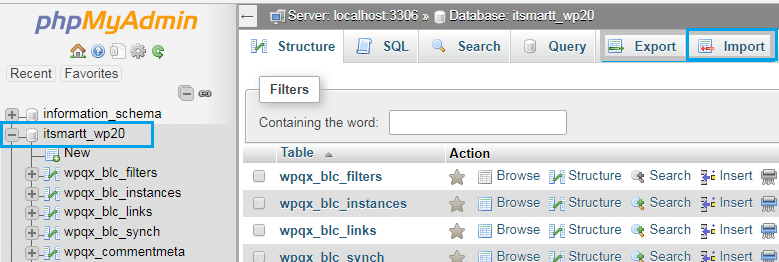
Now let us import the phpMyAdmin exported backup by selecting the database
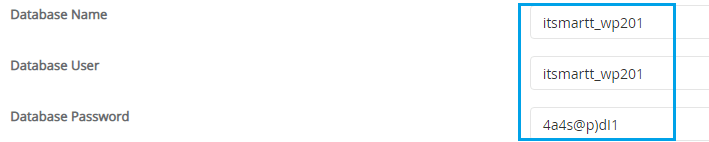
Check the Database Name, Database User, and Database Password when installing WordPress or by going into the Database.
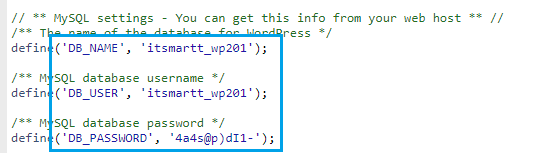
Changing the database details in Website Migration is very important. Now edit the old ‘wp-config.php‘ file, change the database name, database user, and database password.
Now all the steps of the website Migration have to be done. Only New DNS servers have to be changed. I just used Cloudflare so I log in the Cloudflare and add the New DNS as follows snapshots. In this way, you can migrate the website without your traffic loss. Now you can see that your website will live immediately without ‘down’.

Also Read- How To Create Email Accounts In cPanel.
That’s all, In this article, we have explained Website Migration From One cPanel Server To Another. I hope you enjoy this article. If you like this article, then just share it. If you have any questions about this article, please comment.
Will this work for cPanel to DirectAdmin migration too? Or is it only for cPanel to cPanel?