In this article, we are going to learn How to install Monitorix System and Network monitoring tools in Redhat/CentOS/Fedora. Monitorix is an open-source application that is a System and Network monitoring tool for Linux. Monitorix was written and developed by Jordi Sanfeliu using Perl programming language and released initially in the year 2005 under GNU GPLv2 License. It’s a nice to light weight and the user-friendly application consumes less memory & available for almost all Linux and Unix-related operating systems.

Now let’s have a look at features of Monitorix network monitoring tools :
- This application is available for Linux and Unix operating systems only i.e. Redhat, CentOS, Fedora, Ubuntu, FreeBSD…etc…
- You can use this application to monitor Network bandwidth and Traffic usage,
- Monitorix network monitoring tools can provide statistics of Unlimited network interfaces.
- Supports both IPV4 and also IPV6 connections and can generate the statistics of both.
- Supports any number of Network ports with all protocols i.e. TCP and UDP.
- Monitorix can be used to monitor the performance and statistics of a web server like Apache, Nginx.
- Can monitor statistics of database applications like MySQL, MongoDB.
- Monitorix network monitoring tools can provide statistics of Important services like NFS server and client, BIND, NTP, Squid web cache, and proxy server.
- Check system performances like uptime, Memory cache, utilization of file systems, Inode, disks, assigned memory, and many more.
For more features and information of Monitorix, you can visit the official website.
Follow the below steps to install Monitorix System and Network monitoring tools in Redhat/CentOS/Fedora:
Before starting the installation of Monitorix network monitoring tools we have to install the EPEL Release repository package as it’s not a part of the default repository. Hence to install the repository use the below command.
[root@localhost ~]# yum -y install epel-release   # Install EPEL Release Repository
Loaded plugins: fastestmirror, refresh-packagekit, security
Determining fastest mirrors
 * base: centos.mirror.net.in
 * extras: del-mirrors.extreme-ix.org
 * updates: del-mirrors.extreme-ix.org
base                                                                                                        | 3.7 kB     00:00
extras                                                                                                      | 3.4 kB     00:00
extras/primary_db                                                                                           |  30 kB     00:00
updates                                                                                                     | 3.4 kB     00:00
updates/primary_db                                                                                          | 7.0 MB     00:15
Setting up Install Process
Resolving Dependencies
--> Running transaction check
---> Package epel-release.noarch 0:6-8 will be installed
--> Finished Dependency Resolution
.
.
Running Transaction
  Installing : epel-release-6-8.noarch                                                                                         1/1
  Verifying  : epel-release-6-8.noarch                                                                                         1/1

Installed:
  epel-release.noarch 0:6-8

Complete!
After installing the EPEL repository now we are ready to install the Monitorix monitoring tools package. Hence let’s go ahead and install the same using the below command.
[root@localhost ~]# yum -y install monitorix # Install the Monitorix Package
Now we have installed the Monitorix network monitoring tools application successfully. To confirm the same use the below command.
[root@localhost ~]# rpm -qa | grep monitorix   # Confirm the installed Package
monitorix-3.10.0-1.el6.noarch
First, we have to check if the Monitorix application service is started or not. To do so use the below command.
[root@localhost ~]# /etc/init.d/monitorix status   # Check the service running status
monitorix is stopped
As you can see above currently the Monitorix network monitoring tools service is in a stopped state. So to start the service use the below command.
[root@localhost ~]# /etc/init.d/monitorix start   # Start the Service
Starting monitorix:                                        [  OK  ]
[root@localhost ~]# /etc/init.d/monitorix stop # Stop the Service
[root@localhost ~]# /etc/init.d/monitorix restart # Restart the Service
Refer to the below command to start the application automatically at Startup.
[root@localhost ~]# chkconfig --level 35 monitorix on # Start the Service at Startup
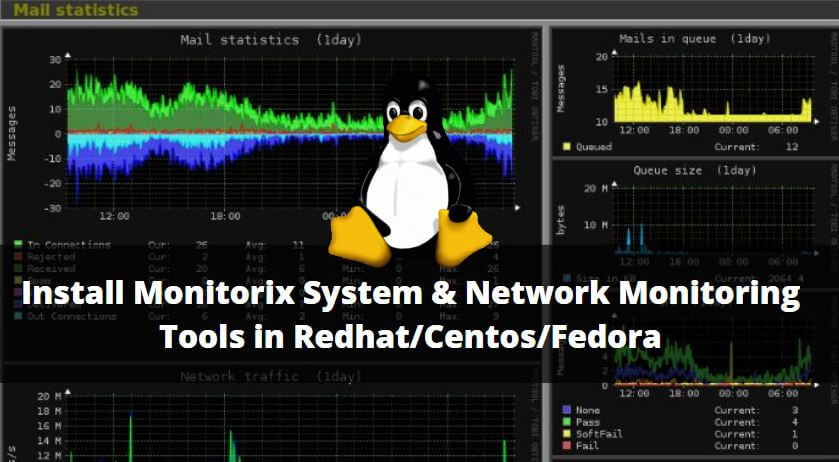
Now to open the Monitorix network monitoring tools just open the Web Browser and enter the URL http://localhost:8080/monitorix.
To uninstall the Monitorix network monitoring tools use the below command.
[root@localhost ~]# rpm -ev monitorix # Uninstall the Application
Also Read – Setup Netdata For Real Time Performance Monitor In Linux System
That’s all, In this article, we have explained the How to Install Monitorix System and Network Monitoring Tools in Redhat/Centos/Fedora. I hope you enjoy this article. If you like this article, then just share it. If you have any questions about this article, please comment.