In this article we are going to learn How to configure Static IP Address in linux operating system using webmin web based application. Before we start the configuration let’s first understand what is Static IP address. There are two types of IP addresses available. one is Static and other one is dynamic IP address. Static IP address is the IP address which we assign to a network interface manually and it will not change by it’s own till we didn’t changed it. But in case of dynamic IP address it’s assigned to system or devices automatically through DHCP server and it may change time to time.

This article is for those people who are finding Linux as a difficult operating system to operating due to its terminal interface/ command-line interface. There is a nice web-based application is available called Webmin which can be used to configure each and every service of Linux graphically. So let’s get started.
Here I am assuming that you have already installed the Webmin package and ready for IP configuration. If you don’t know How to install the Webmin package then read this article.
Also Read – How To Install Webmin With SSL In Linux – A Web Interface To Configure Linux
I have installed the latest version of the Webmin package. Refer to the output below.
[root@itsmarttricks~]# rpm -qa | grep webmin  # Confirm the installed Package
webmin-1.850-1.noarch
Follow the below steps to configure static IP address in Linux using Webmin:
Open your preferred web browser and enter the URL to open the Webmin web interface. Normally the default URL of Webmin is https://localhost:10000. After open the Webmin application interface just enter the Username & Password to login to the portal.
- Post logging into Webmin click on the Networking menu on the left panel of the application.
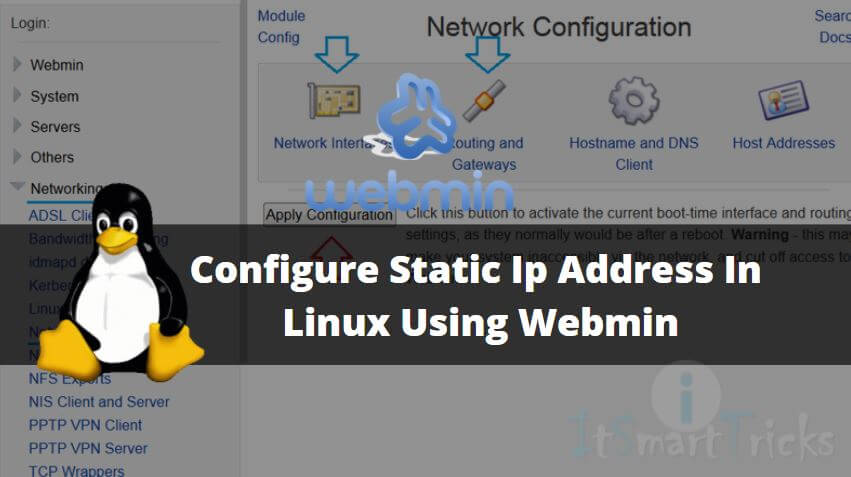
- After selecting the Networking menu you will get more options. Here just click on Network Configuration.
- Then select Network Interfaces for Static IP address configuration.
- Here I have two network interfaces i.e. ens33 & lo (Loopback Network Interface). So let’s click on the ens33 network interface for static IP address configuration.
Now here we have to do five changes for static IP address configuration.
- Select Yes to enable the Network Interface and activate on boot.
- Select the Static Configuration option in the IPV4 address section.
- After selecting the static configuration enter your static ip address on the IPV4 Address field (eg: 192.168.1.100)
- Then Enter Subnet Mask on the Netmask field (eg: 255.255.255.0).
- Finally enter the Broadcast address (eg: 192.168.1.255). Most probably Broadcast address take by the system automatically. Refer the snapshot above.
After all the above changes just click on Save and Apply button the change the settings and take effect immediately. Now to check the IP Address of the system just run the below command.
[root@itsmarttricks~]# ifconfig # Checking the configured IP Address
Also Read – How to Install Latest Webmin Control Panel in Ubuntu
That’s all, In this article, we have explained How To Configure Static Ip Address In Linux Using Webmin. I hope you enjoy this article. If you like this article, then just share it. If you have any questions about this article, please comment.