In this article, we are going to learn AWS Free Tier Account creation. Amazon Web Services (AWS) is providing 12 months of Free Tier account to new subscribers to get hands-on experience with all the AWS cloud services.
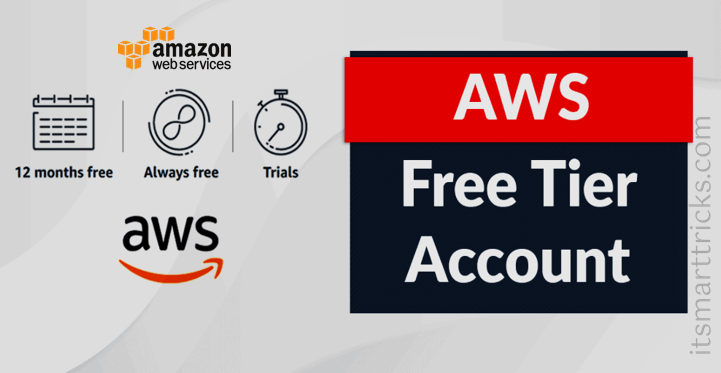
In this AWS Free Tire account Amazon is providing numbers of deferent services with some limitations which are used for practice and gaining more knowledge on AWS cloud services as well as for regular business use. AWS Free Tier is primarily designed to provide customers with a free experience for one year with AWS Cloud Services. All services offered, including the AWS Free Tier account, are limited to what we can use without charge.
Free Tier offers:
All AWS accounts can explore 3 different types of free offers, depending on the product used.
- Always free – Never expires: These offers are available to all AWS customers and don’t expire at the end of your 12-month AWS Free Tier term.
- 12 months free – Start from initial sign-up date: These offers provide limited usage for 12 months after your initial sign-up date. You pay standard rates after your 12 months free usage term expires or if your application use exceeds the free tier limits.
- Trials – Start from service activation date: These are short-term trial offers that start from the date that you activate a service. You pay standard rates after the trial period expires. For more information on how different services are charged
AWS Free Tier Account creation Steps:
Go to aws.amazon.com and click Create a Free Account.
On middle-click on Get started for free.
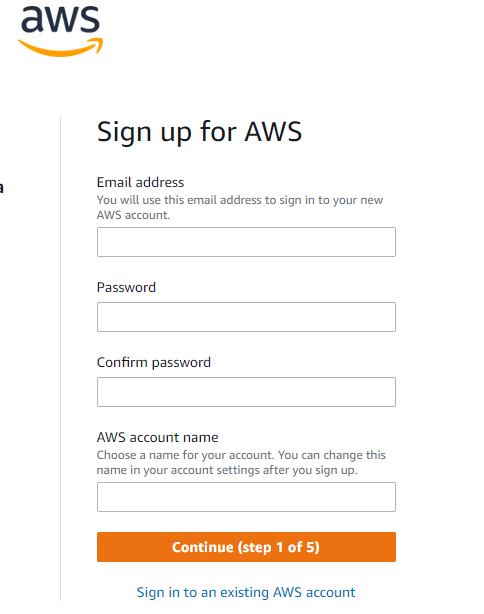
Sign up for AWS:
Enter your account information, and then choose Continue.
- Email address: Provide the mail id which hasn’t registered yet with Amazon AWS.
- Password: Type your password.
- Confirm password: Authenticate the password.
- AWS Account name: Choose a name for your account. You can change this name in your account settings after you sign up.
Contact Information:
Select your AWS type (Profesional/ Personal) Fill the correct information to validate your account if you’re going to create personal use then click on “personal Account” else use “Company Account”, Accepts the Terms and
condition and then click on Continue.
- Full Name
- Phone Number
- Country or Region
- Address
- Postal Code
Billing Information:
AWS will not charge for use below the free tier limits. INR 2 is temporarily kept as a pending transaction for 3-5 days to verify your identity.
- Credit or Debit card number
- Expiration date
- Cardholder’s name
- CVV
- Billing address
- PAN
Phone verification:
Here you will be taken to an identity verification page that will already have your phone number, so you just have to select either “Text message or Voice call” Provide a valid phone number, Solve the captcha and then click on Send SMS or Call Me Now.
- Choose your country or region code from the list.
- Enter a phone number where you can be reached in the next few minutes.
- Enter the code displayed in the CAPTCHA, and then submit.
- In a few moments, an automated system contacts you.
- Enter the PIN you receive, and then choose Continue.
Choose an AWS Support plan:
On the Select a Support Plan page, choose one of the available Support plans. For a description of the available Support plans and their benefits.
Wait for account activation
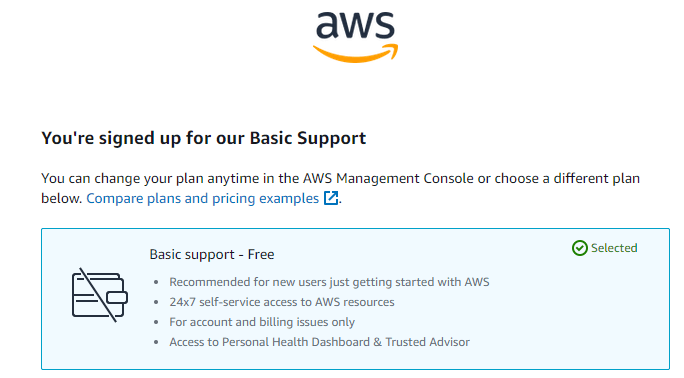
After you choose a Support plan (Basic Plan – free plan recommend for most users), a confirmation page indicates that your account is being activated. Accounts are usually activated within a few minutes, but the process might take up to 24 hours.
You can sign in to your AWS account during this time. The AWS home page might display a Complete Sign Up button during this time, even if you’ve completed all the steps in the sign-up process.
When your account is fully activated, you receive a confirmation email. Check your email and spam folder for the confirmation email. After you receive this email, you have full access to all AWS services.
Selecting your role:
This is the last step in registering for your AWS free tier account. You need to choose your role and your area of interest. For your role, you can choose from academics, business analysts, software developers, students, and more.
There is not much difference between the two choices. You can choose them to your liking. Once you click the submit button, your AWS Free Level Account will be created. On this page, you will also find tutorials provided by AWS. You can pay attention to them.
Login to your AWS console:
However, you can also simply continue by clicking Sign in to the Console. After this, you will be again presented with the sign in screen where you can now select Root User and enter Root user email address, Password to login.
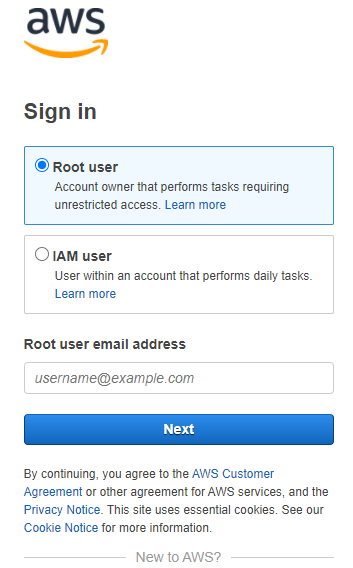
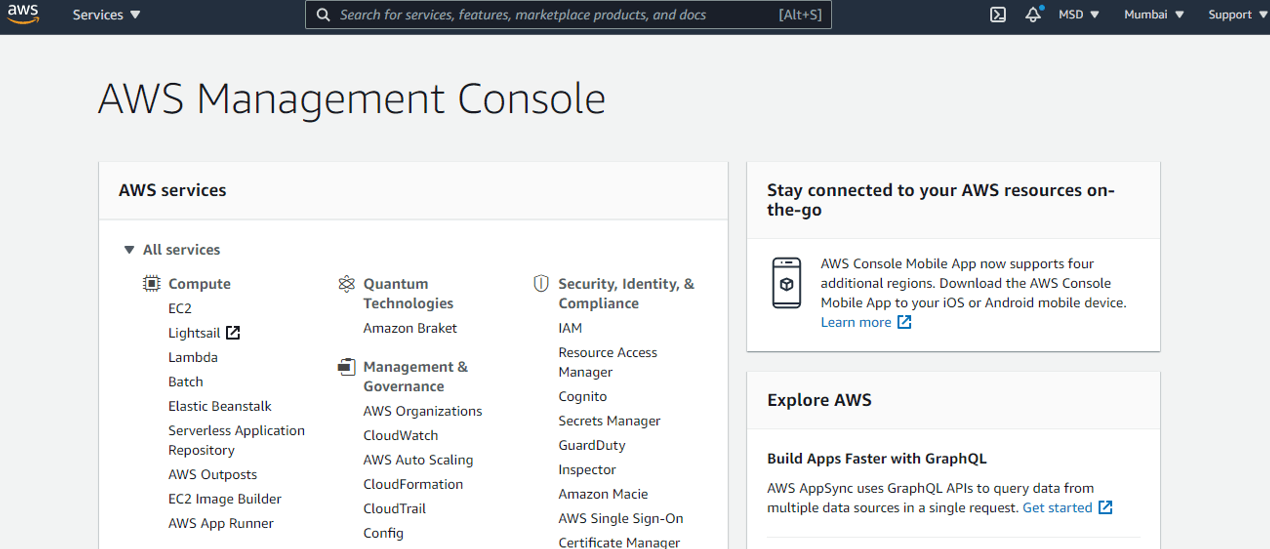
Finally, after logging in, you should be able to see the AWS Management Console as below:
Also Read – Setting up AWS billing alerts
That’s all, In this article, we have explained AWS Free Tier Account creation. If you like this article, then just share it and then do subscribe to email alerts for Linux, Windows, macOS, Android, Internet, Firewall and Security, CCTV tutorials. If you have any questions or doubts about this article, please comment.
