
In this article, we are going to learn How to install Notepad++ code editor in Ubuntu. Notepad++ is an open-source application that is a source code editor used to edit text-based files. You can use the Notepad++ code editor application to write programming languages like HTML, C, C++…etc..Notepad++ is only available for Microsoft Windows OS. Initially, Notepad++ was developed by Don Ho in the year 2003 using C++ programming language and released under GNU GPL license. Notepad++ code editor is a nice lightweight application that comes with various features mentioned below :
- Notepad++ code editor application supports almost 80+ languages.
- Available for both 32 Bit and 64 Bit operating systems.
- One of the best features of the Notepad++ code editor is auto-complete i.e. during typing some program or code, the application will suggest the syntax of code automatically.
- Open multiple text files using the tab feature.
- Save the edited files automatically. This feature is useful when your system gets shutdown automatically due to power failure or for some technical reason.
Officially Notepad++ is not available for Linux operating systems but with the help of Wine, we can install it in Ubuntu. So let’s get started.

Follow the below steps to install Notepad++ code editor in Ubuntu:
As we discussed earlier Notepad++ is officially not available for Linux operating system. So to install Notepad++ in Ubuntu first we have to install a package called Wine.
So now I am assuming that you have read the above article and ready with wine 2.0 to install Notepad++ code editor. So to install Notepad++ application just download the application from the official website Here.
Also Read – How to Install Wine In Ubuntu
After download, the Notepad++ code editor .exe setup file just right click on the setup file, select open with and then click on Wine Windows Program Loader. Then select your preferred language then click on Ok.
- Click on Next to start the Notepad++ code editor installation.
- Click on the I Agree button to agree on the License Agreement.
- Select the installation type. By default, it comes with custom installation. So here I am going with custom installation. Click on Next to continue the installation.
- Installation path for Notepad++ Code editor application. (Recommended: Go with default Path)
- Click on the Install button to start the installation.
- Now just click on the Finish button to complete the Notepad++ code editor application installation.
- After installation, you will get a shortcut of the Notepad++ code editor on the desktop. just double-click on the shortcut to open the application.
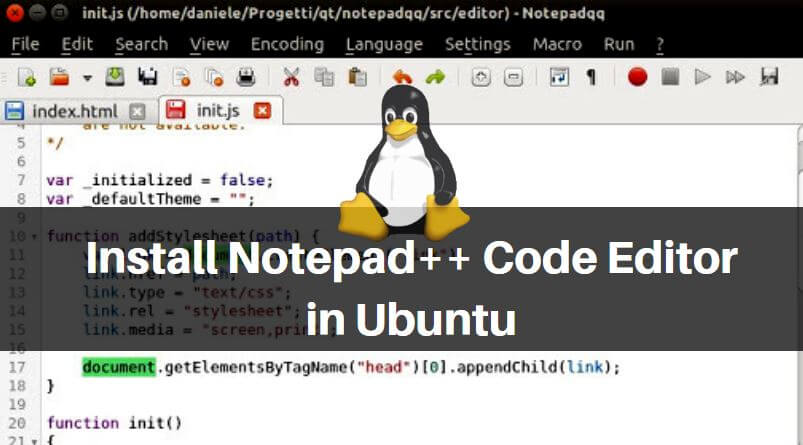
Also Read – How to install Notepadqq Text Editor in Ubuntu 18.04 – A Alternative to Notepad++
That’s all, In this article, we have explained the How to Install Notepad++ Code Editor in Ubuntu. I hope you enjoy this article. If you like this article, then just share it. If you have any questions about this article, please comment.