
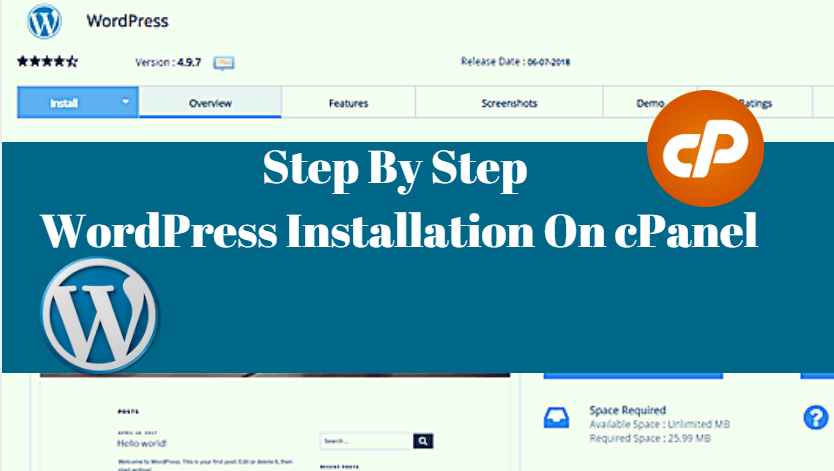
WordPress is the most popular blogging platform in cPanel for making websites. The content management system in WordPress is the most outstanding feature. WordPress is a free and open-source blogging platform based on PHP and MySQL. All web hosting companies have WordPress’s blogging platform in cPanel. Plugin architecture and a template system are included in WordPress. WordPress was released on May 27, 2003, now (4.9.7) this version was updated on 2018-07-05. WordPress is also popular for making websites like blogging with forums or online stores. Let’s learn today, ‘Step by Step WordPress Installation On cPanel’.
Things You Need Before Installing WordPress On cPanel:
To install WordPress, the first thing to do is to buy a domain name and a good web hosting server. I’m taking Hostgator company’s web hosting because this is the most popular of web hosting. Its server response time is good. Also, the technical support of Hostgator is best. I think you can buy HostGator’s web hosting.

Follow Steps To WordPress Installation On cPanel:
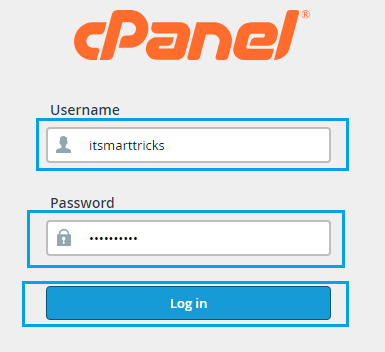
In this article, I’m going to install WordPress on Hostgator web hosting cPanel. Now login cPanel. When you buy web hosting, there will be a mail cPanel login details.

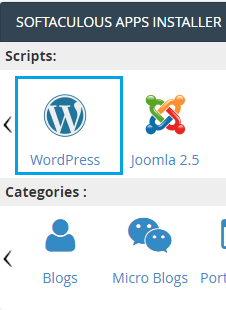
Now in Softaculous Apps, there are many apps in which WordPress is selected and open. You are about to perform a custom installation of WordPress.

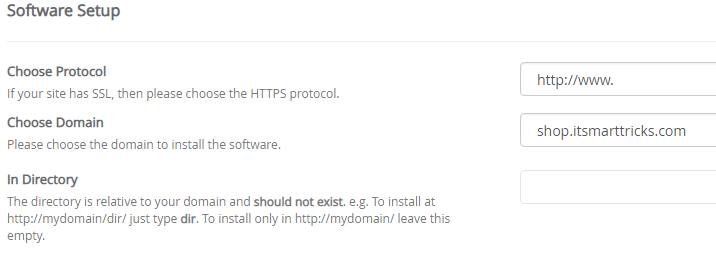
Now select the protocol and the domain in the Software Setup. If you are using an SSL certificate, then select https:// this protocol. Keep blank in the directory option.

Enter your website name and description in Site Settings.


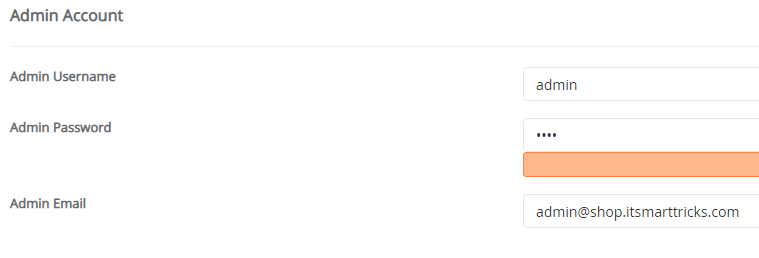
Let’s set up an Admin Account to login into WordPress. Enter the username and password in the Admin Account and enter admin’s e-mail id.

Select your preferred language here. I’m choosing the English language.


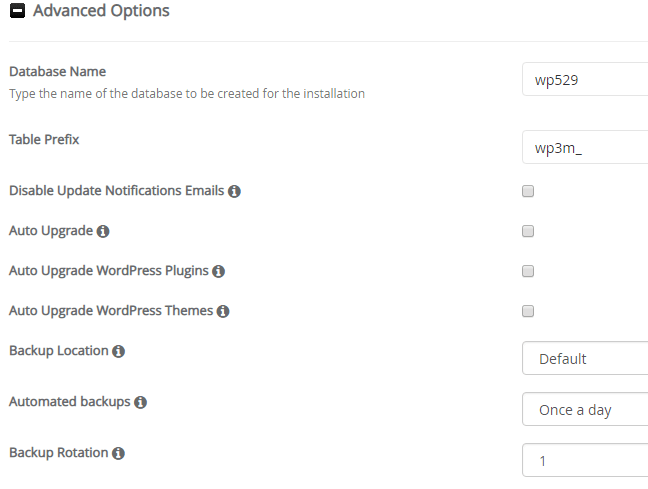
In Advanced Options, just select the day for ‘Automated Backups‘. In the Backup Rotation, select Backup Rotation

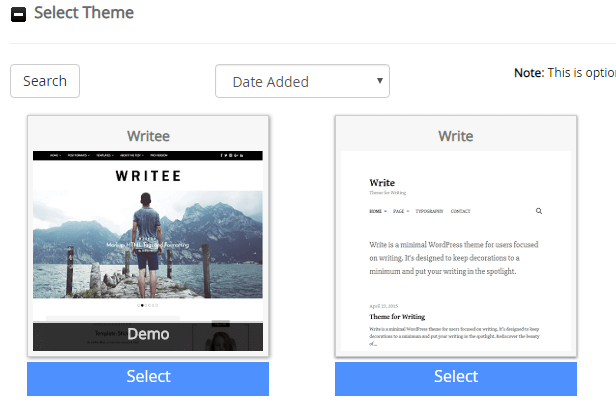
Select this Best theme for your website.

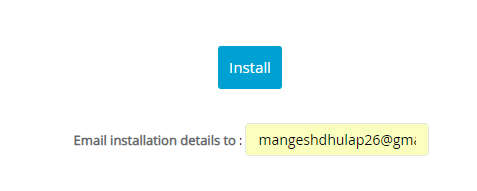
Now is the time to install WordPress. First of all, type e-mail id type so that Details of WordPress installation will be emailed to you.

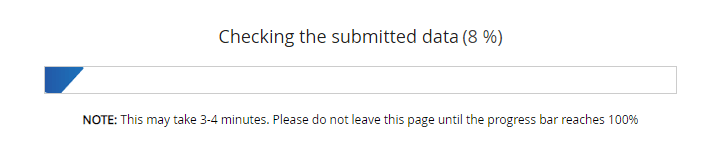
Now you can see in the following snapshot is in WordPress’s Installation process.

Thus WordPress has been successfully installed.


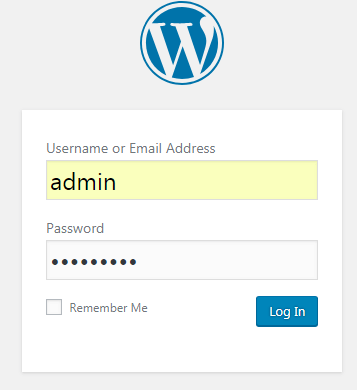
Now open the WordPress login page entering the administrative URL on the browser. Now enter the username and password and login to WordPress.

Also Read- How To Create Email Accounts In cPanel.
That’s all, In this article, we have explained Step By Step WordPress Installation On cPanel. I hope you enjoy this article. If you like this article, then just share it. If you have any questions about this article, please comment.
