
Today we will learn how to install Kali Linux version 2018.1. The Kali Linux operating system is very popular for hacking. Kali Linux has been installed based on the operating system of Ubuntu and Debian Linux. The first version of Kali Linux 1.0.0 was released on 13 March 2013. Here we are installing the Kali Linux version 2018.1 which is released on 6th February 2018. You can download this version from the following link.
https://www.kali.org/downloads/
Follow the below Steps to Install Kali Linux 2018.1
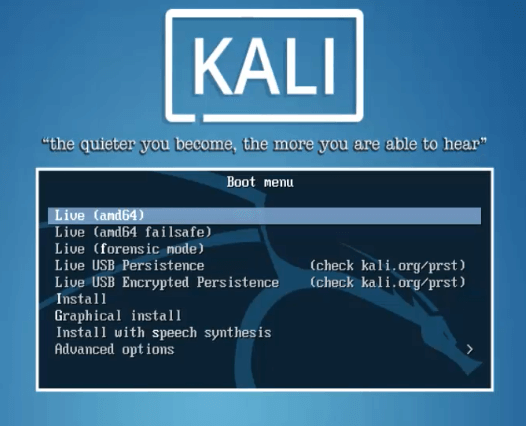
Download the ISO file first to install Kali Linux. Make the ISO file bootable and reboot the system. Now you will see the first screen of the Kali Linux installer, select Graphical Install and press Enter.

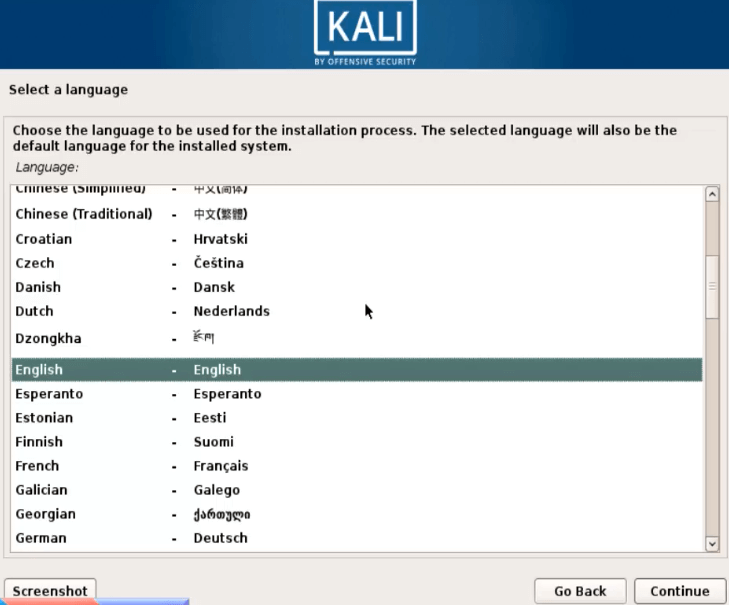
Select your language here and click on Continue.

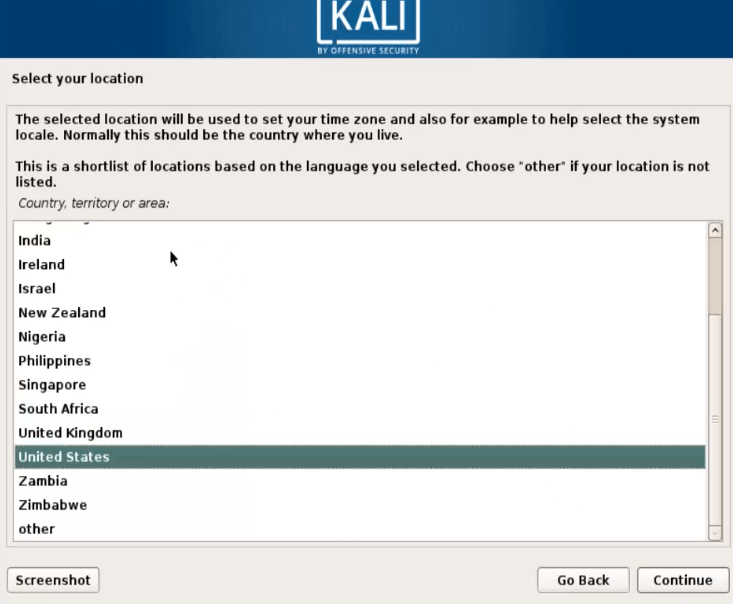
Select your country here and click on Continue.

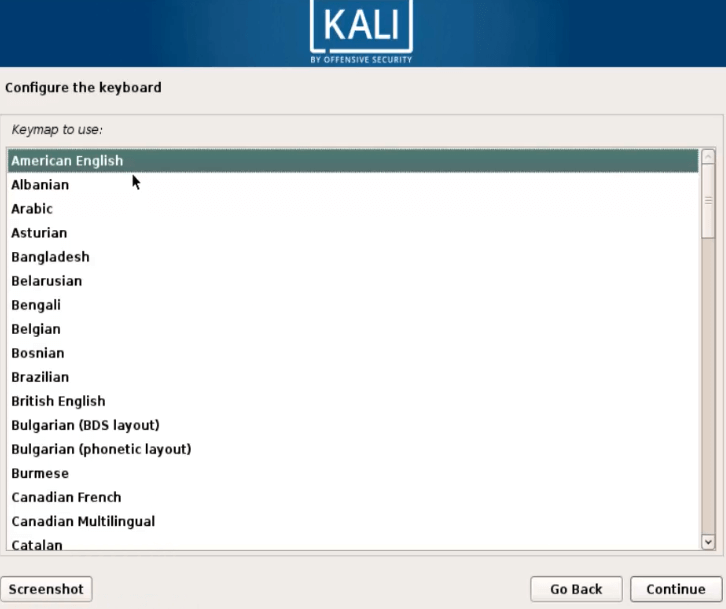
Now select the language that supports your keyboard and click on Continue

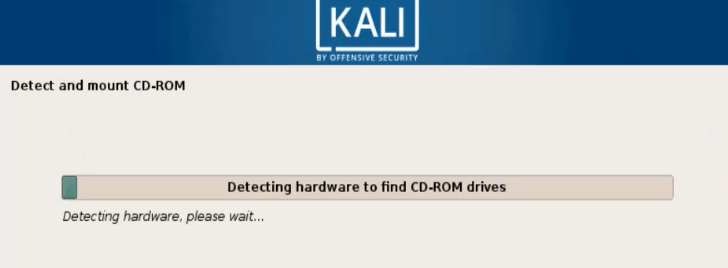
Now the Kali Linux installation process has started.

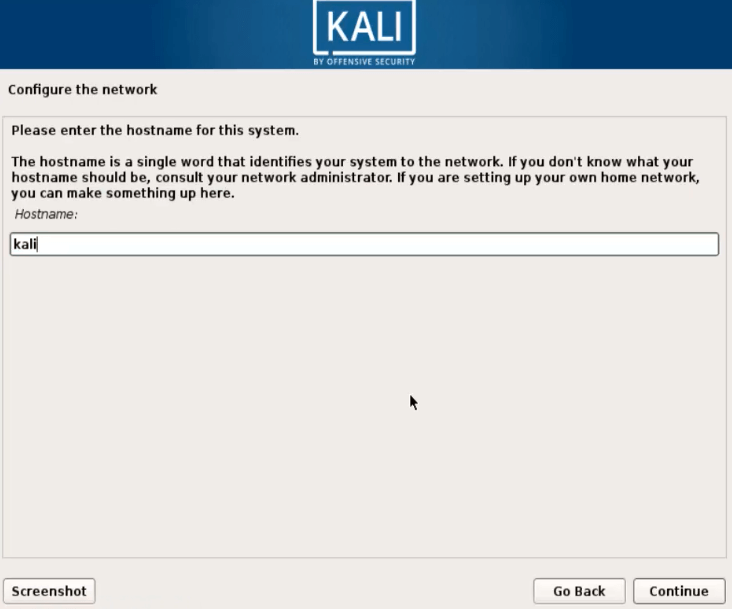
Give your Kali Linux system a host name and click continue.

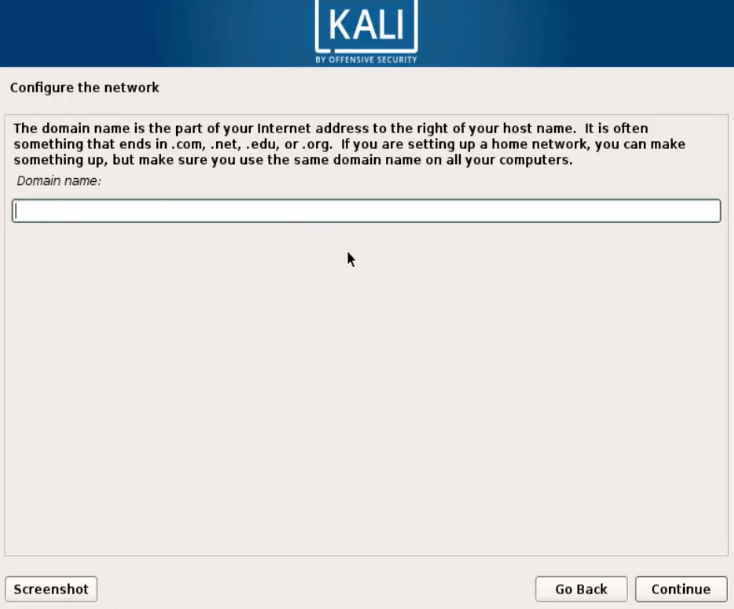
If you want to add your system to a domain, you can provide domain names here. I’m not going to add to the domain here so click on continue.

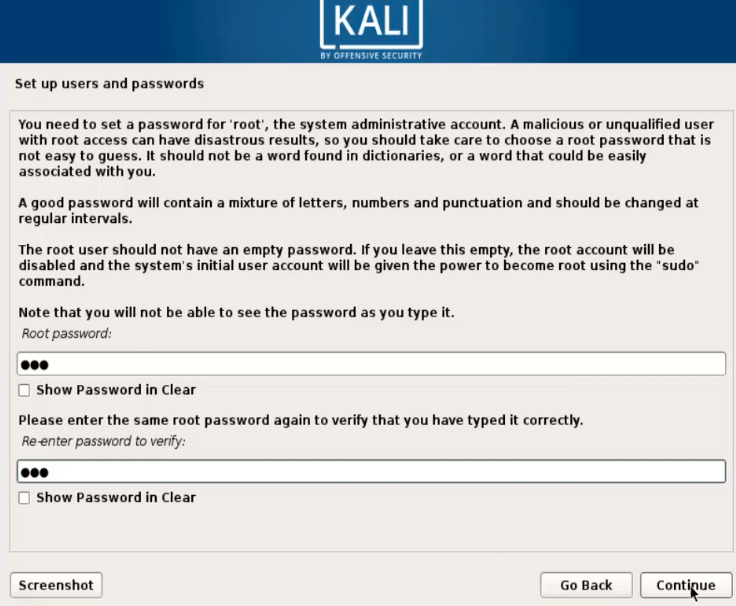
Set the root password for Kali Linux system here and click continue.

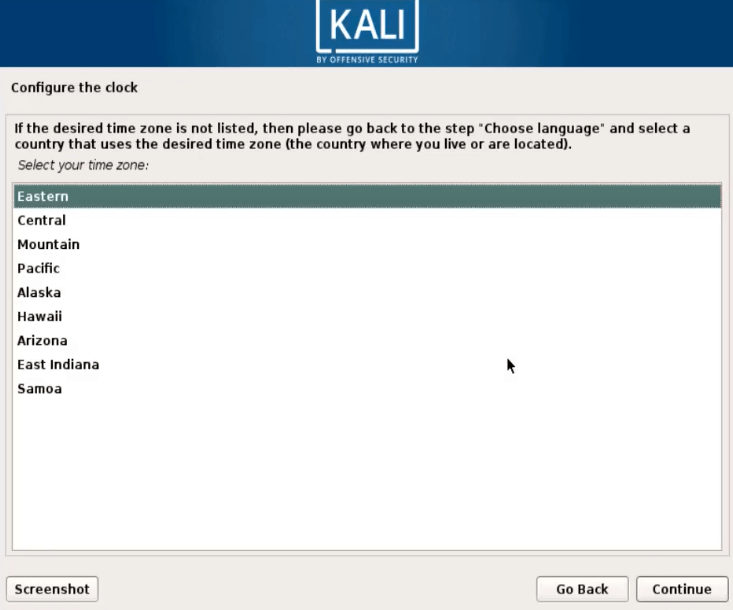
Select your Time-Zone according to your location and click continue.

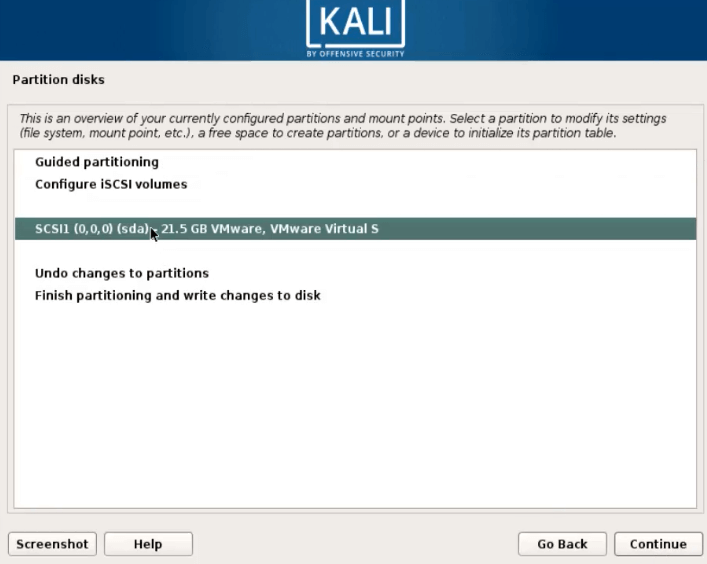
Now it’s time to create a Partition for your Kali Linux system. If you are about to manually create a partition, then select Manual and click on Continue.


Select a hard disk and click on the Continue.

Select yes for the installation process and click Continue


Select the hard disk space and select Continue

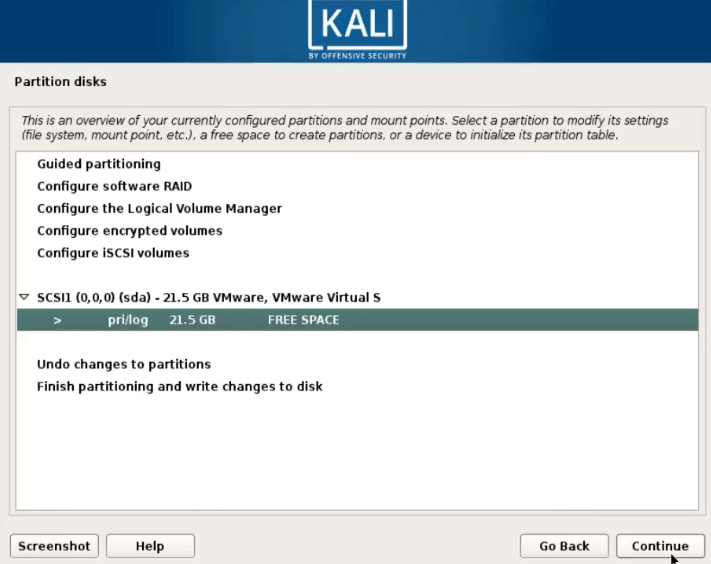
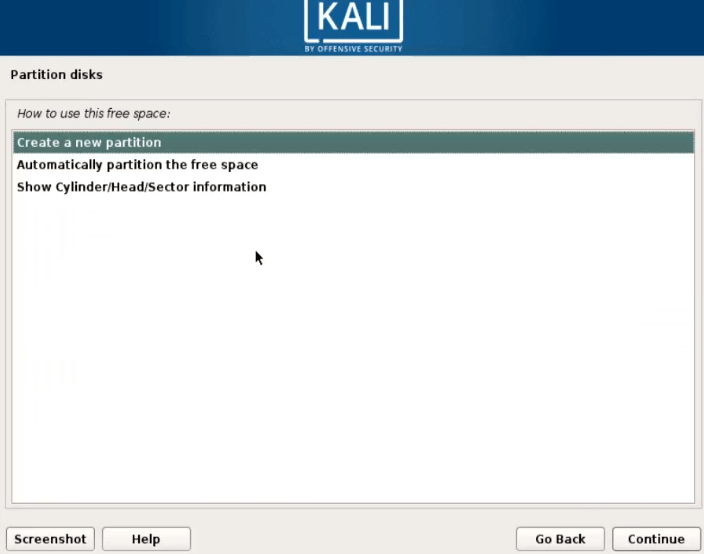
Click on ‘Create a New Partition‘ and click on Continue.

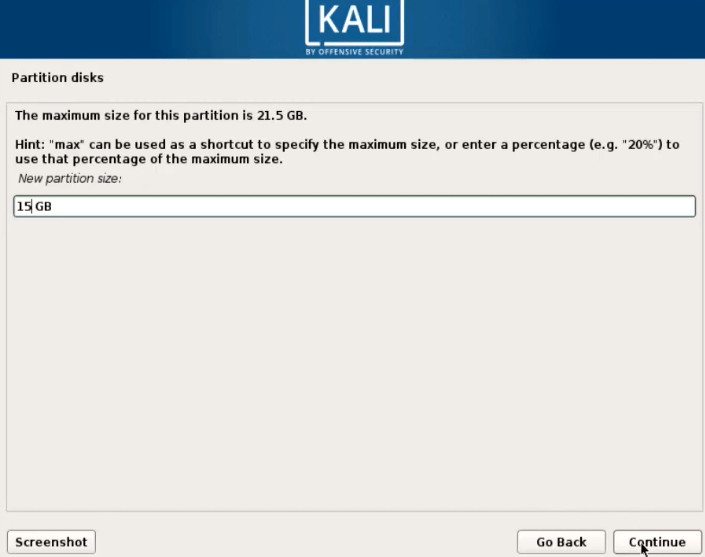
From the free space in the hard disk, I am giving 15 gb space here and then click Continue

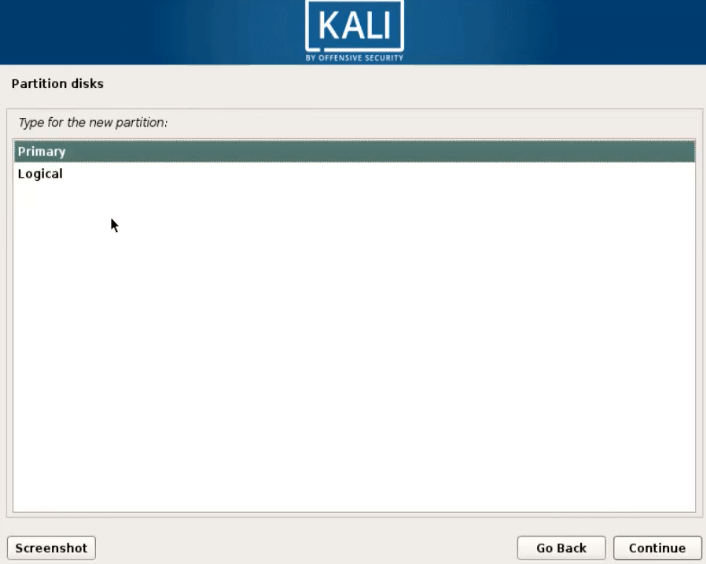
We are installing this operating system as it is to select on Primary. Logical This option is for the data store.

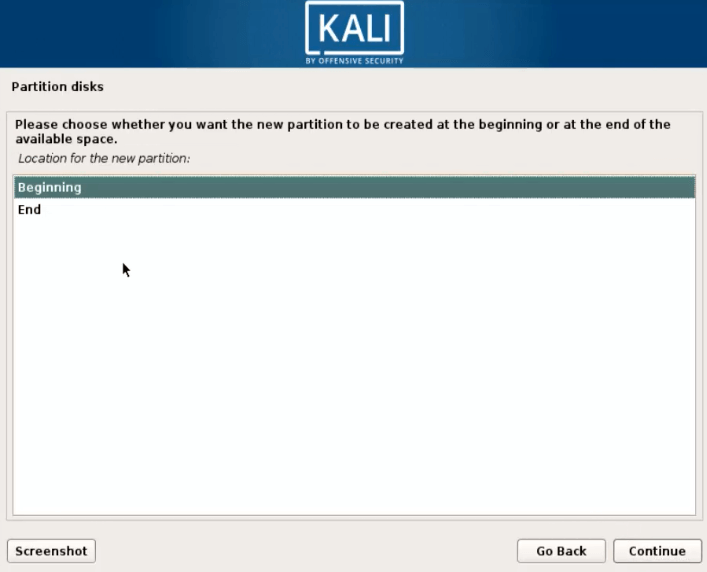
Selecting the Beginning option will determine the location of the partition and click on Continue.

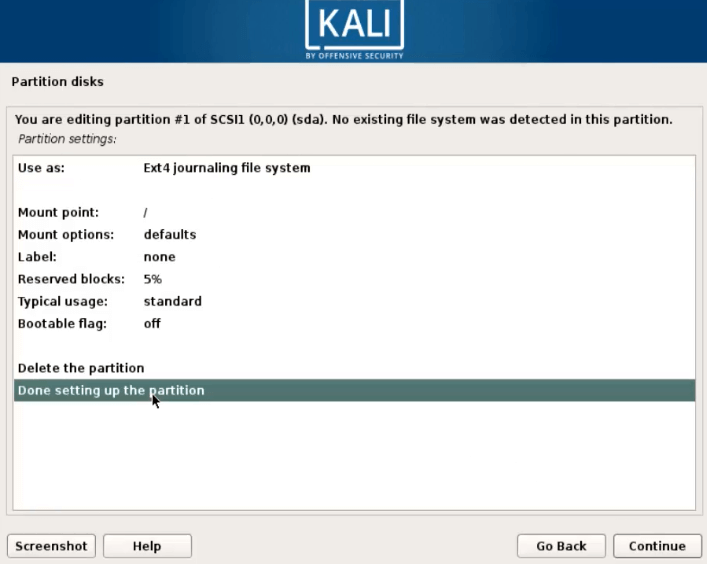
Select Done settings up the partition and click Continue.

To create a swap partition, just select the free space and click Continue.
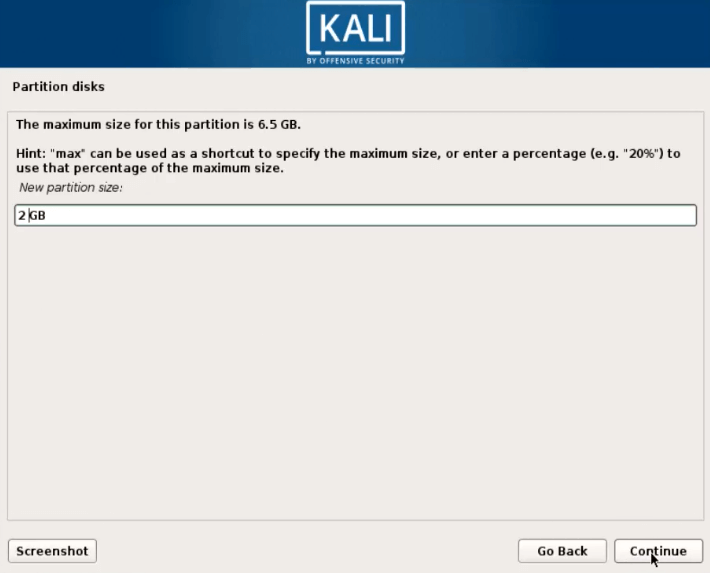
Click on Create a New Partition. Then click on Continue.

I will take 2gb space for Swap Partition and click on Continue.

Select the primary for the swap partition and click on continue.

Just select Beginning for the location of the swap partition and click on Continue.

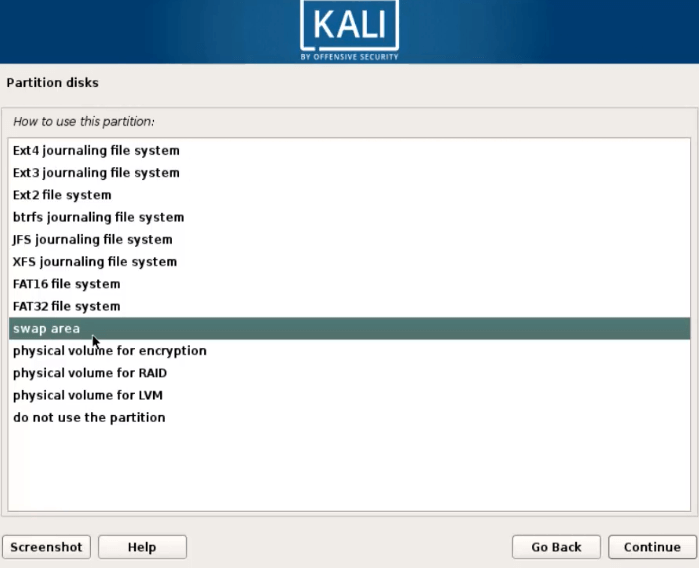
To create a swap partition, select the swap area and select Continue.

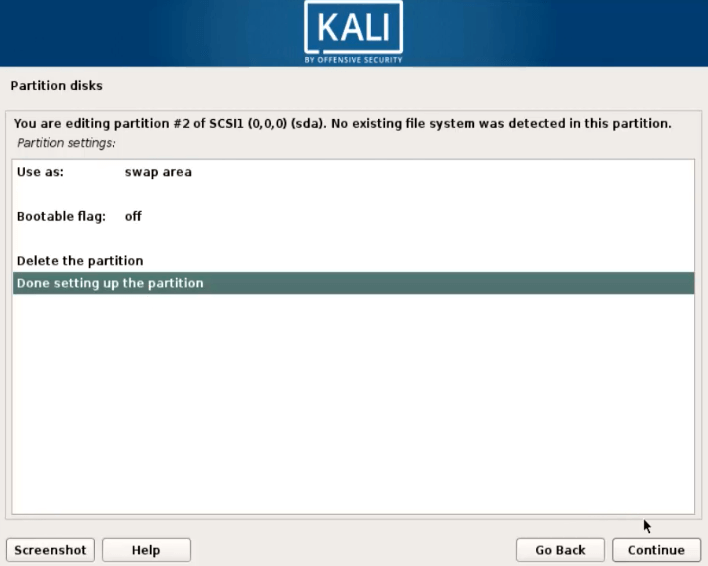
Select ‘Done setting up the Partition‘ and click on Continue.

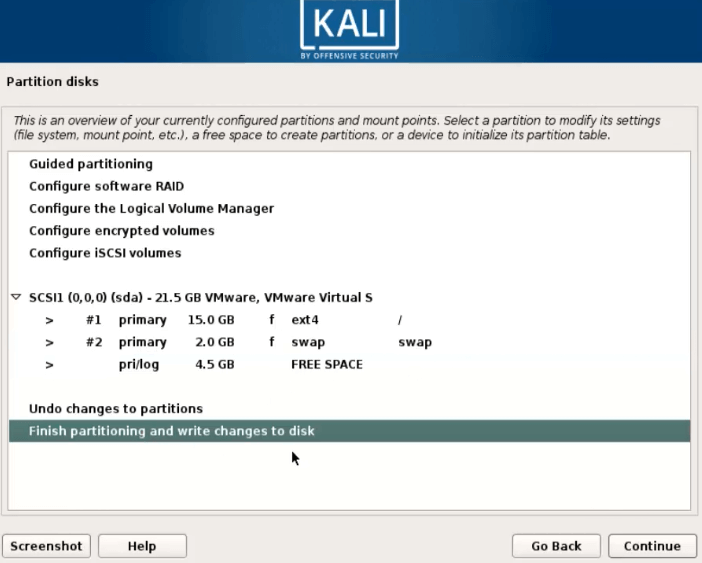
Now you can see that both the / and swap partitions have been created. Now click on ‘Finish Partitioning and Write changes to disk‘ and click on Continue.

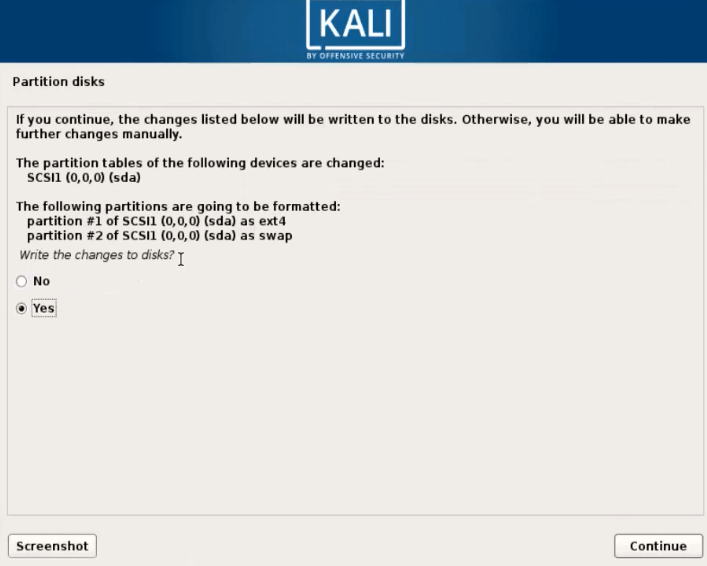
Here, select Yes, make the partition and click Continue.

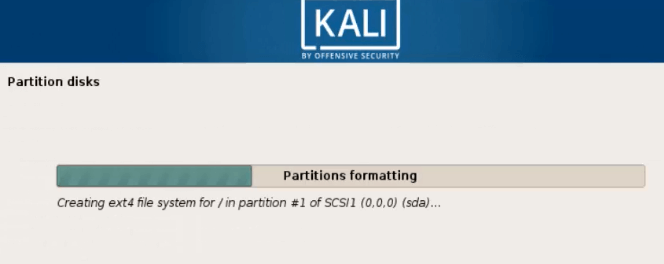
Kali Linux 2018.1 Installation is on Progress.

Also Read-
»Step By Step Installation Of Ubuntu 17.04 With Screenshots.
»How to Install Debian 9 Stretch Step by Step With Snapshots.
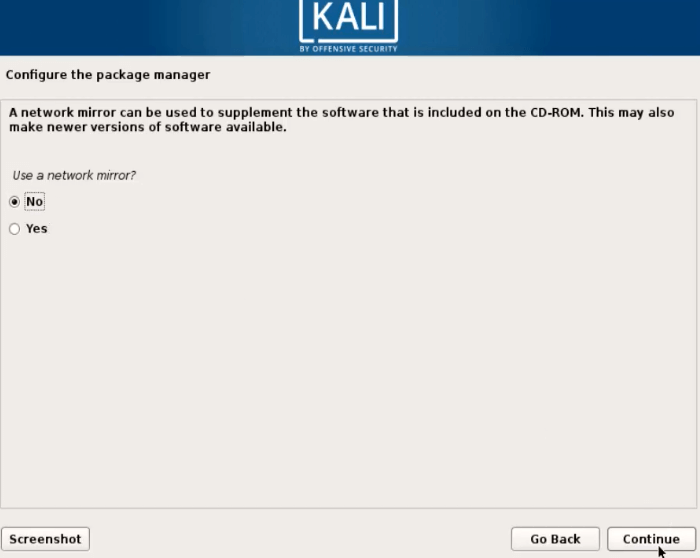
Click on Yes to install Network Mirror Packages or click on No.

If you have a Proxy Server, enter Proxy Address for Internet access.
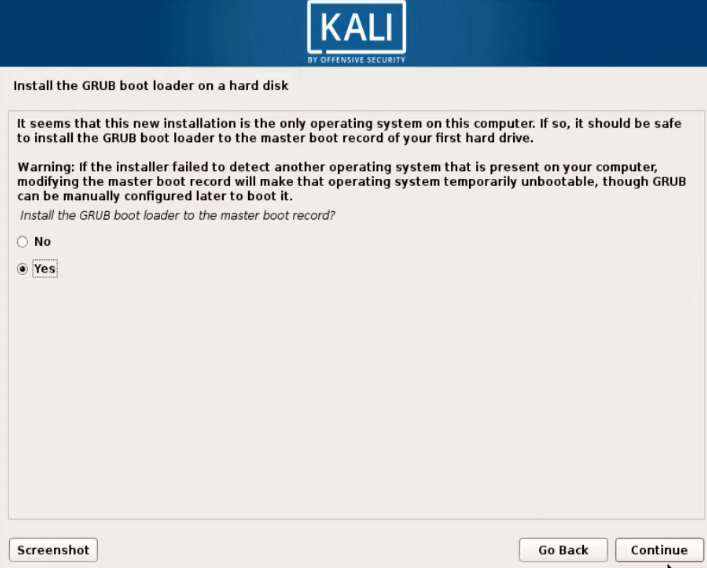
To install the GRUB boot loader, click Yes and click Continue.

Now select /dev/sda, select the hard disk and click on Continue.


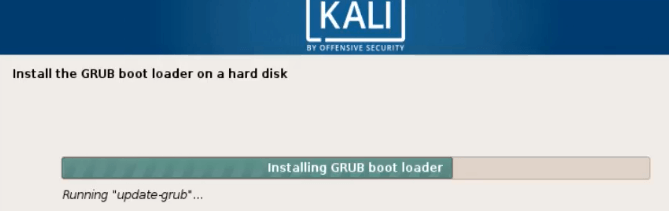
The GRUB Bootloader is being installed

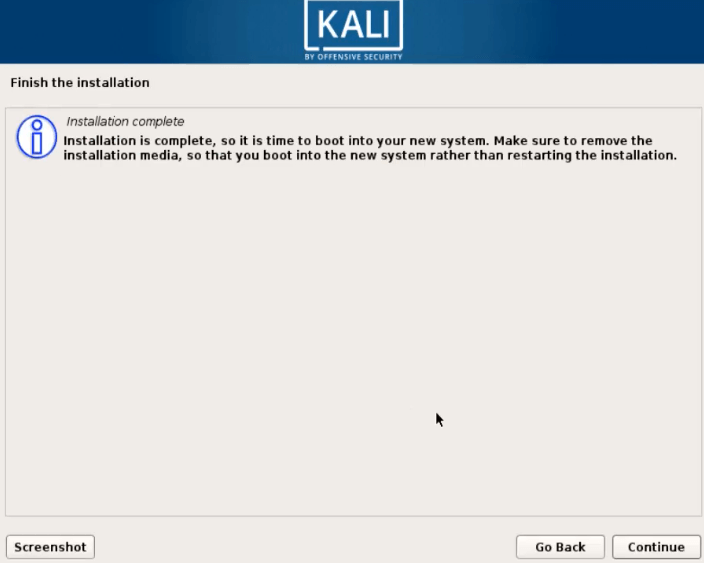
Now click on Continue to finish Kali Linux 2018.1’s Installation Process.

Now the system will restart and you will need to enter the root user id and password.

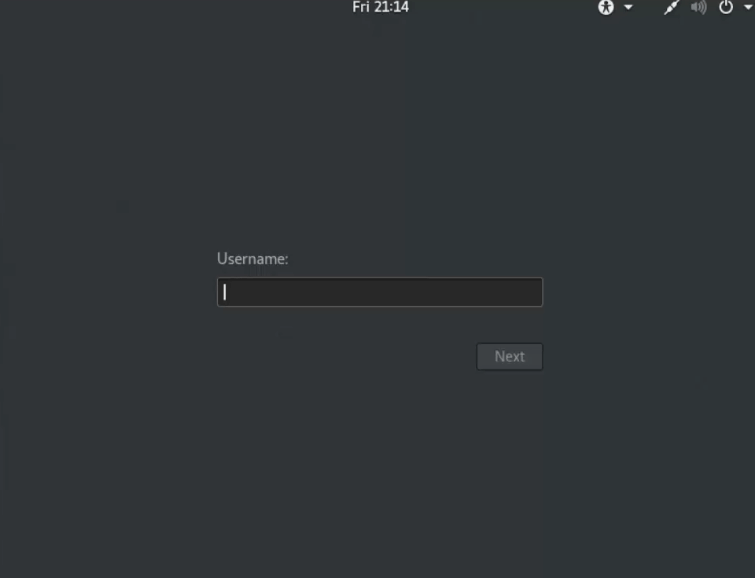
This way you have successfully installed Kali Linux 2018.1.

I would like you to really like this article. If you like this article, then just share it. If there are some queries related to this article, then comment.
