Windows Server 2016 has many roles out of which you will learn the role ‘Dynamic Host Configuration Protocol (DHCP)’ today. All systems in the network are automatically assigned as an IP address through the DHCP Server Role. DHCP Server Role provides the IP address from which an IP address is set to range in the configuration of DHCP. So let us see how to install and configure DHCP Server Role on Windows Server 2016. In the previous articles, we learned that ‘How to Installing and Configuring Active Directory in Windows Server 2016′ and ‘System Requirements and Installation Windows Server 2016′.

Follow Steps To Configure DHCP Server Role:
Before configuring the DHCP Role, we need to install it, let’s first install the DHCP Server Role. There are two ways to install DHCP Server Role: One can install using PowerShell and secondly, you can go to the server manager and install it in ‘Role & Feature’. You are about to install DHCP Server Role using the Role & Feature-based Installation method. Now let’s open the server manager‘s icon double click on the taskbar.

After you open the server manager, click on the Add roles and features option, and open it.

In the Add roles and features window, simply click on Next button.

Select the option ‘Role-based or feature-based installation‘ and click on Next button.

Select a server from the server pool as shown in the snapshot below, then click Next.

Select ‘DHCP Server‘ as you are going to Configure DHCP Server Role.

After selecting DHCP Server, click Add Feature.

There are many features that you can add if you want to. I’m not going to add any features. I will just go ahead by clicking the Next button.

Just click the Next button only here.

Simply install the DHCP Server Role by clicking on the Install button.

The snapshot is shown below that the DHCP installation has been completed so click on the close button.

Now go back to the server manager and click on the notification icon and click on ‘Complete DHCP Configuration‘ Notification.

Click on the Next button.

Select the username for Configure DHCP Server Role authorization and click commit.

The configuration of DHCP has been completed, now click on close.

Also Read- How To Set Logon Hours For Users In Active Directory – Windows Server 2016.
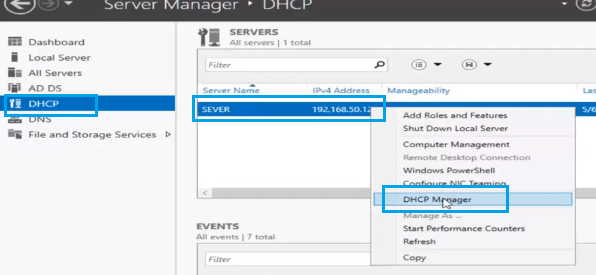
Above you install DHCP Server role, now let’s configure ‘DHCP Server Role’. To configure the DHCP Server role, go to the server manager, following the snapshot, and open the DHCP manager.
Now firstly expand the domain, then right-click on IPV4 and create a new scope.
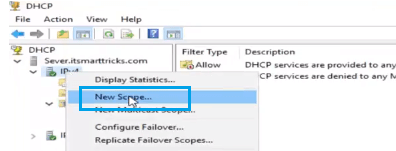
The new scope window will open, then click on Next for further process.
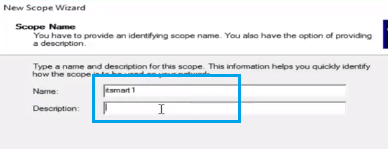
Enter a scope name to identify which is the scope, and then click on Next.
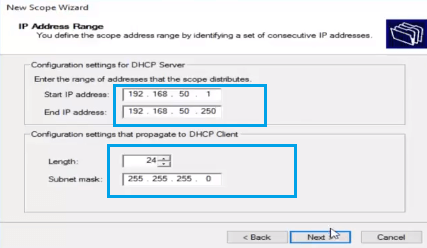
Set the IP address range as the snapshot below. As you set up the IP address range, the IP address will be assigned to the client in the same range. Also, give the Length and Subnet mask and click on Next.
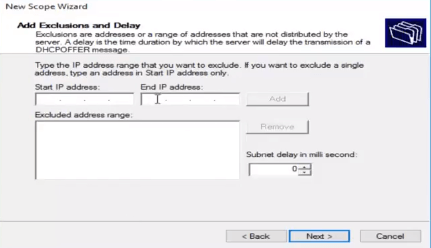
If you want to exclude the IP address set in the DHCP server, you can add it to the IP address ‘Exclusions and Delay‘. I’m not adding the IP address, if you want to, you can add the IP address.
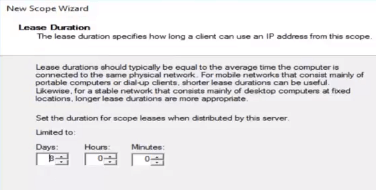
The default 8 days in lease duration is set, which means that the client can use an IP address for 8 days. If you want to change the lease duration, you can change it.
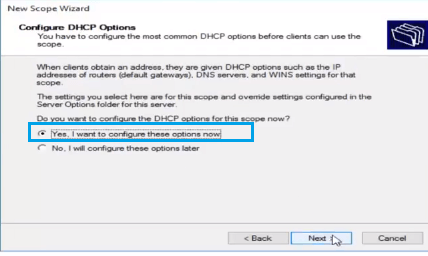
If you want to have options like DNS servers and WiNS, click the yes button. Then click Next.
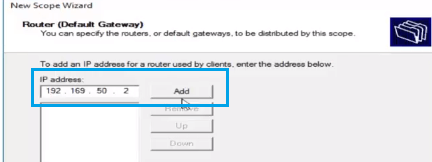
Set the IP address of these routers or default gateways, then click on the add button.
Enter the DNS server IP addresses that you would like your client to use

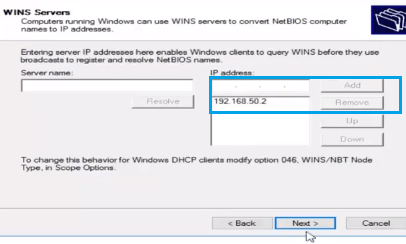
If you do not have a DNS server in the network, use the WINS server.
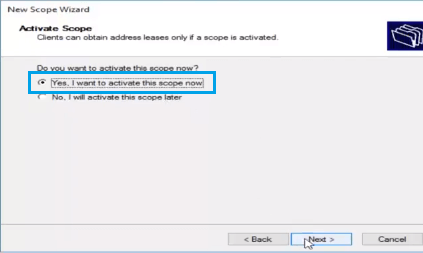
You can see that all the steps are done, now just click yes to activate the created scope.
The created new scope has been completed. Now click Finish.
Now you can see in the following snap New Scope has been activated.

That’s all, In this article, we have explained How To Configure DHCP Server Role on Windows Server 2016. I hope you enjoy this article. If you like this article, then just share it. If you have any questions about this article, please comment.